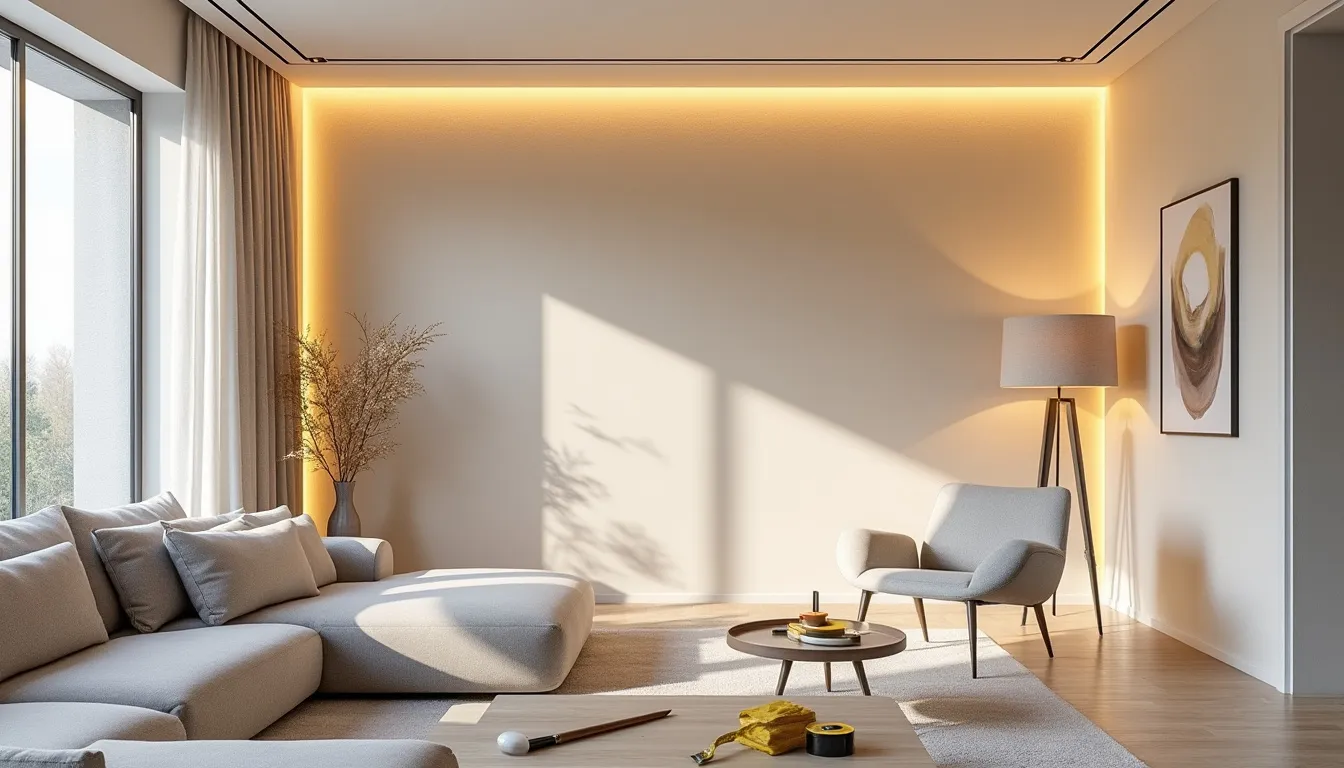
Heating paint for walls and ceilings: installation guide and practical tips
4 min read
In our relentless quest to improve the comfort of our homes while reducing our energy footprint, one innovation catches our attention: heating paint. Not only is it intended to be an aesthetic product, but it also transforms our walls and ceilings into real sources of heat. In 2025, as ecological awareness is sharper than ever, let’s understand how to install heating paint, its advantages, and practical tips for integrating it into our interiors.
What is heating paint?
Heating paint is a true masterpiece of modern technology, designed to reinvent the traditional concept of home heating. Its composition is based on mica and talc mineral particles, combined with antimony and tin oxides, thus providing unique thermal properties.
Initially developed in NASA's laboratories for space applications, heating paint has been adapted for home use, thus preparing a pleasant and comfortable environment. By integrating a discreet heat source into the walls, it promises to replace traditional heating systems, bringing a touch of modernity to our habitat.
How heating paint works
The functioning of heating paint is both fascinating and practical. Once applied to your walls or ceilings, it transforms into an efficient radiator. Thanks to anodes installed near the painted surface and connected to an electrical source, the paint generates gentle heat that diffuses evenly throughout the room. This represents a real advantage, especially for those looking to maximize space without sacrificing comfort.
Advantages of heating paint
Energy savings: Indeed, according to studies, heating paint could reduce energy costs by at least 10% compared to traditional heating.
Aesthetics: Its invisible finish contrasts with classic radiators, creating a clean interior.
Even heat distribution: This eliminates cold spots often found with traditional heating systems.
Installation of heating paint: steps to follow
Let’s move on to the important process of installing heating paint. If well executed, it can transform your space into a haven of warmth. Here are the main steps to follow.
Required materials
To proceed with the installation of heating paint, a set of materials and tools is required:
Heating paint (for example, EcoChauffant from Novapaint)
Short-haired drip-free rollers
Brushes for corners and edges
A special primer for better adhesion
Electrical application devices
Surface preparation
Before starting the application:
Ensure that the walls or ceilings are perfectly clean. Remove any dirt, dust, or old paint that could compromise adhesion.
Inspect the surfaces for cracks and irregularities. These should be repaired with a smoothing compound.
Apply a primer to even out the surface, which not only facilitates application but also ensures better paint adhesion.
Application of heating paint
It’s time to move on to the actual application:
Using a roller, start applying the heating paint, beginning with the corners using a brush.
Work in sections of about 1 m². Perform cross passes to ensure an even application.
Allow to dry completely between each coat. Generally, 2 to 3 coats are necessary.
Practical tips for using heating paint
To maximize the effectiveness of your heating paint, some tips can be implemented:
Electrical system: Before any installation, consult an electrician to ensure that your installation is appropriate and safe.
Consumption: Do not connect the paint to a source that is too powerful, as this could reduce its durability.
Ambient temperature: Maintain a reasonable ambient temperature between 15 and 25 °C to improve the performance of the paint.
Maintenance of heating paint
Maintenance is crucial to prolong the life of heating paint:
Avoid aggressive chemical products during cleaning.
Regularly check the condition of the anodes and the electrical system.
If there are painting defects, do not hesitate to make repairs quickly.
Energy savings and environmental impact
In a context where energy efficiency is at the heart of concerns, heating paint represents an effective solution. In 2025, as the cost of traditional energies continues to rise, opting for systems like heating paint seems not only advisable but necessary.
Reduction in energy costs
By choosing heating paint instead of traditional heaters, you could save money. Each square meter painted translates into significant savings on electricity expenses:
Surface (m²) | Estimated annual savings (€) |
|---|---|
10 | 100 |
20 | 200 |
50 | 500 |
Ecological impact
Using heating paint contributes to a reduction in greenhouse gas emissions. By replacing traditional heating systems with cleaner and less energy-intensive methods, you play an active role in the fight against climate change. This approach is all the more relevant given the rising environmental concerns.
Useful FAQ
What is the price of heating paint?
The price can vary depending on the brand and the area to be covered. Generally, it costs between €30 to €50 per m².
Does heating paint work in all types of housing?
Yes, as long as the electrical installation is compliant and the walls are suitable, heating paint can be used in all types of housing.
What are the recommended brands of heating paint?
Among these, we can mention EcoChauffant, Novapaint, and Peintures Inno which are renowned for their effectiveness.
How to avoid marks during application?
Using a short-haired roller and applying the paint in thin and even layers helps prevent unwanted marks.
What is the drying time of heating paint?
Generally, you should count about 4 to 6 hours of drying time between each coat, but this can vary depending on ambient conditions.